How to start?
Coming from the App Store?
Then a few features are missing in your copy. Apple's guidelines don't allow App Store apps to use the Accessibility API to simulate a keyboard, so that version ships without auto paste and a few other things. Everything else works the same.
If you want those features, the direct download has them all. Learn why.
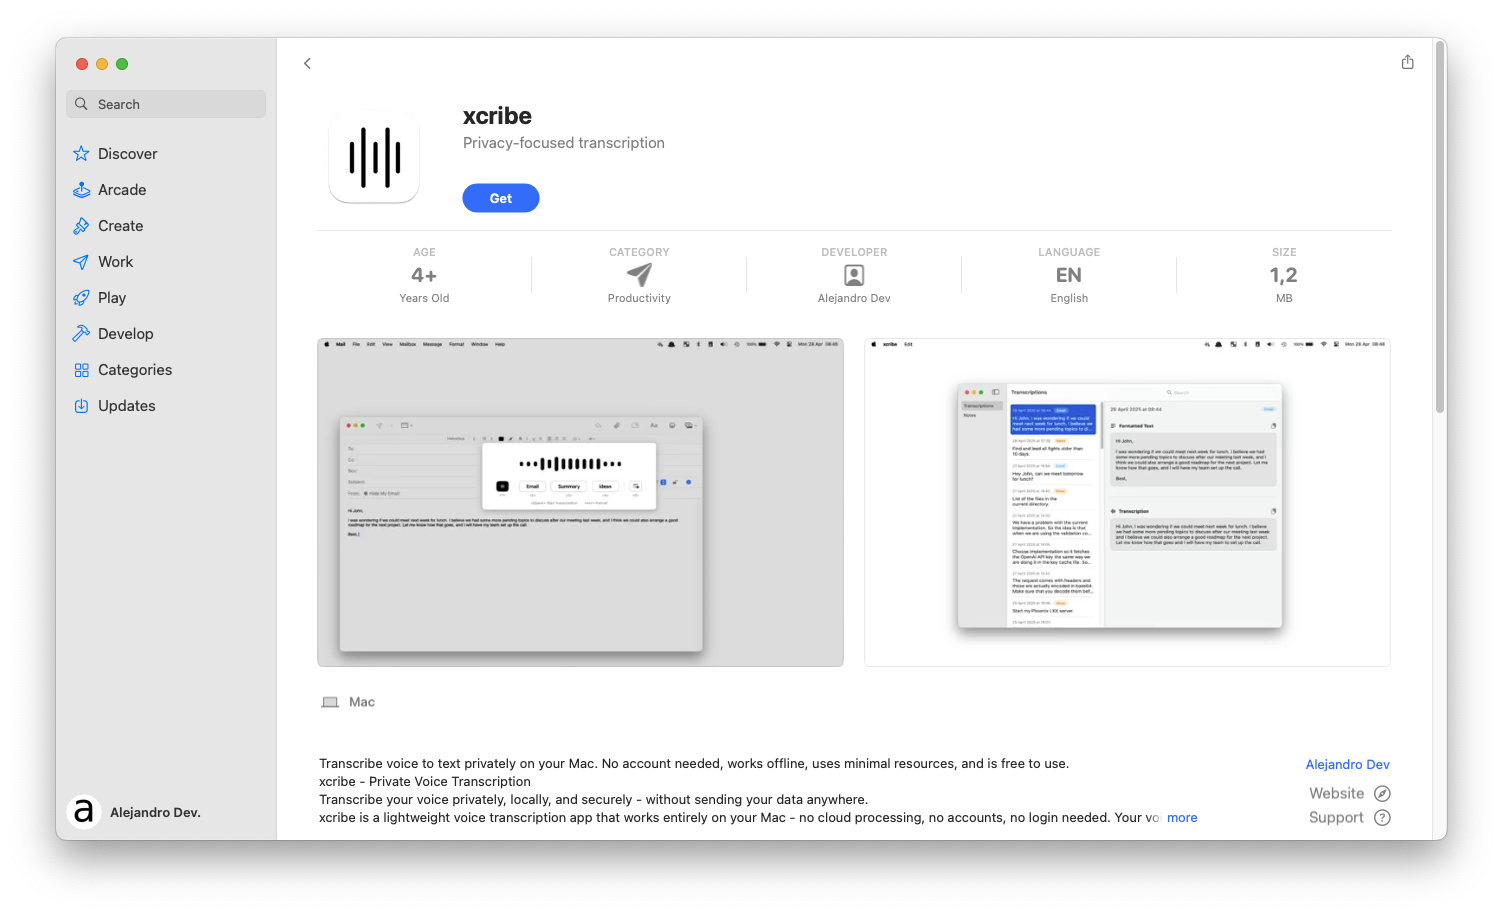
2. Permissions window
Upon starting, xcribe will prompt you for the first time with the permissions window.
Start by configuring your keyboard shortcut to trigger xcribe later on.

3. Setup microphone permissions
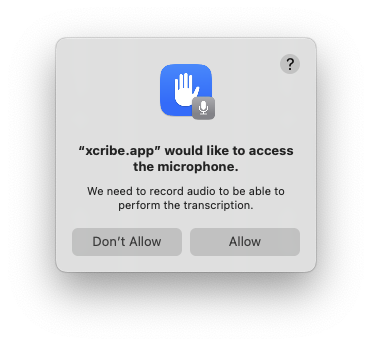
In order to transcribe your voice, xcribe needs access to your microphone.
From the permissions window, click "Request Microphone Access" and accept the prompt.
4. Accessibility permissions
For xcribe to be able to automatically "paste" the transcription, we need to have access to the Accessibility features to simulate a keyboard in MacOS.
From the permissions window, click "Open Accessibility Settings" and make sure that xcribe is enabled.
The permissions window will disappear.
Automatic pasting is only available in the direct download version. Learn why.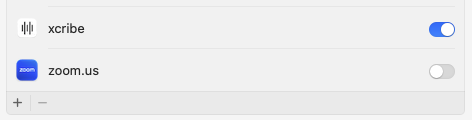
5. Open xcribe
Using the keyboard shortcut you configured before, you can now open xcribe and start talking.
-
Press space to stop the recording, transcribe, and paste the text.
-
Press esc to cancel the recording and hide xcribe.

Troubleshooting
- I don't remember the keyboard shortcut
-
You can always open xcribe from the top menu bar. Search for this icon:
 Some users with small screens have reported that the icon is not
visible. This is due to having many icons in the top bar. Sadly, this
is something we can't easily solve.
Some users with small screens have reported that the icon is not
visible. This is due to having many icons in the top bar. Sadly, this
is something we can't easily solve. - I am unable to open xcribe
- Get in contact.